Alcohol distillation process: Basics of distilling with sugar wash & reflux stills

Distilling alcohol at home is a rewarding experience, combining science, patience, and artistry. We have mapped out a short guide to the alcohol distillation process initially with cleaning to the sugar wash as the base and then distilling with a reflux still.
We have provided linking articles for you to read further on. We want this to be brief to the point to understand the journey of the distiller’s perspective.
Note: Remember is NOT the method for mash and the pot still route. We highly recommend the reflux route if you are learning the basics of distilling.
1. Cleaning and Sanitising of All Related Equipment
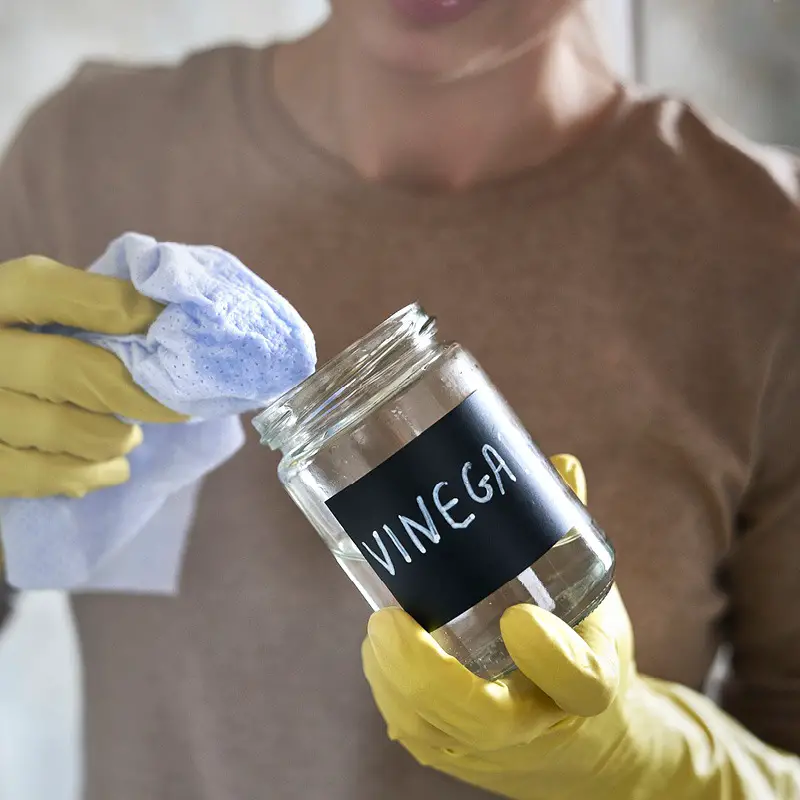
The first and arguably the most crucial step in the distillation process is cleaning and sanitising all equipment. This includes your reflux still, fermentation buckets, spoons, measuring tools, and any other apparatus involved in the process.
Remember, even a tiny amount of impurity or contamination can significantly affect the final taste and quality of your spirit. Use a non-toxic, odourless sanitiser specifically designed for brewing and distilling equipment.
2. Making of the Sugar Wash
The Heart of Distillation
After ensuring all equipment is immaculately clean, the next step is to prepare the sugar wash. A sugar wash is essentially a mixture of sugar, water, and yeast. The quality of your sugar and water significantly influences the final product.
Use a high-quality brewing yeast, as it’s adept at converting sugars into alcohol under ideal conditions. This is turned into a fermented liquid through constant heat. The sugar wash is essential for the alcohol distillation process.
Process:
1. Dissolve the Sugar: Heat some of the water and dissolve the sugar completely.
2. Cool the Mixture: Add the rest of the water to cool the mixture to around 28°C (77°F).
3. Add Yeast: Sprinkle the yeast on the surface and let it hydrate for 15 minutes before stirring.
3. Distillation of the Wash with a reflux still
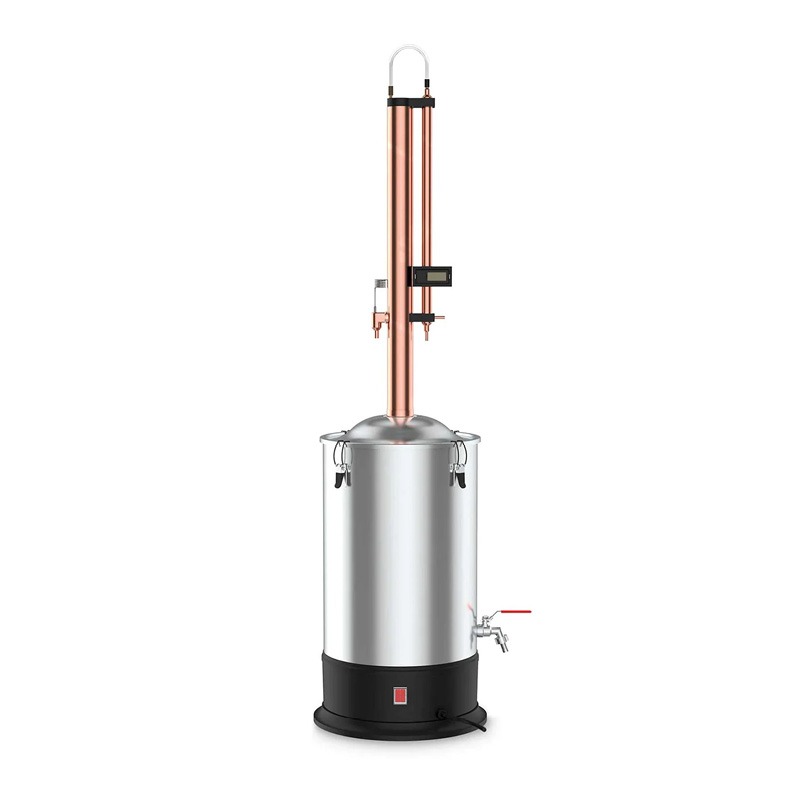
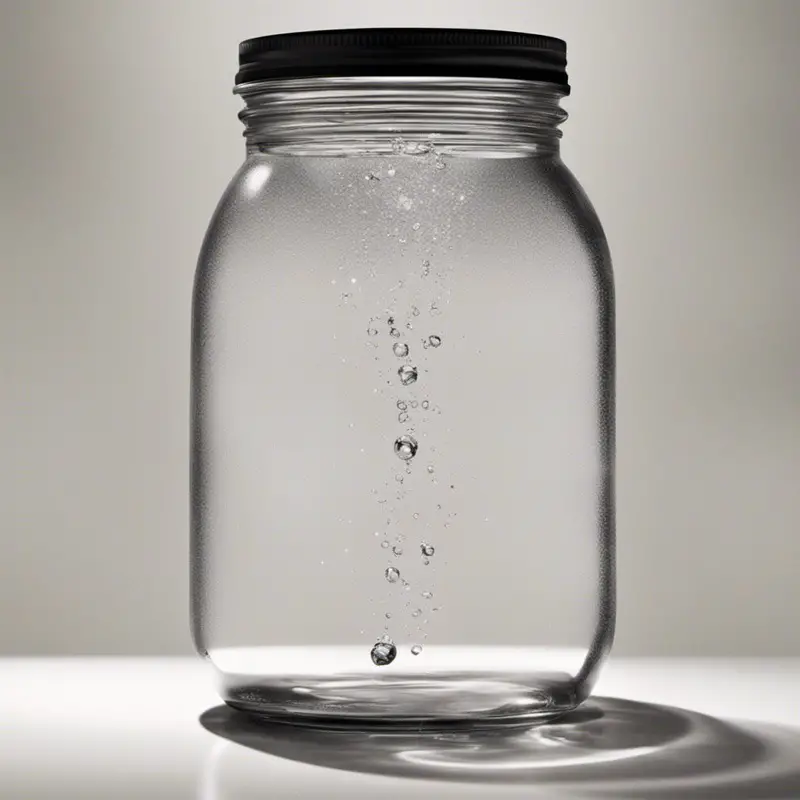
This is where your fermented sugar wash comes to life in this step and turns into alcohol distillate. The wash is heated in the reflux still, where alcohol vapours rise and condense into a liquid form.
Key Points:
4. Making the distilled Cuts
Refining the Spirit
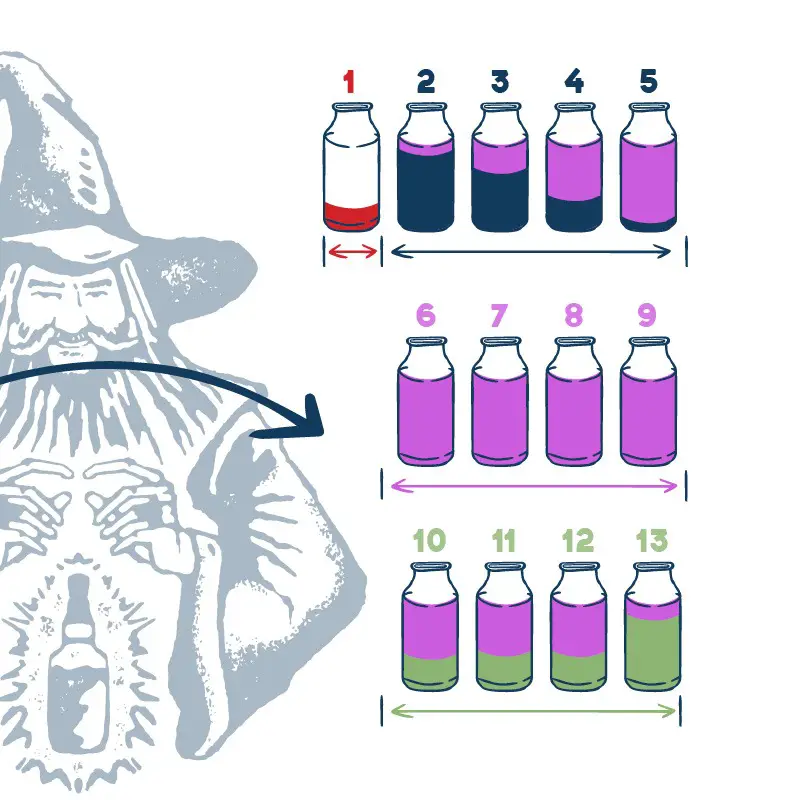
Cuts refer to separating the distilled alcohol into different boiling points: the ‘foreshots, ‘heads’, ‘hearts’, and ‘tails’.
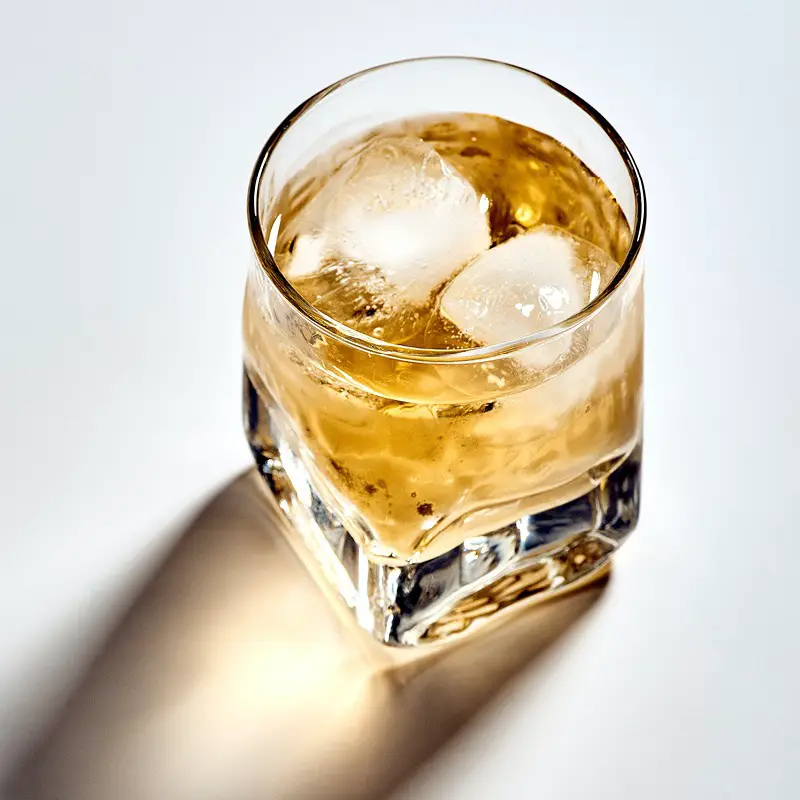
6. Flavouring, Blending of the Spirits
The Final Touch
This is where you can get creative. Using products like Still Spirits and Top Shelf, you can add flavours to your spirits. Whether you’re making a classic whiskey, a smooth vodka, an aromatic gin, or an epic rum, these flavourings can help you achieve the desired profile. Follow the instructions specific to each flavouring kit for best results.
Steps:
1. Choose Your Flavour: Decide on the type of spirit you want to create.
2. Mixing: Add the flavouring to your diluted spirit as per the instructions.
3. Resting: Let the spirit rest for the recommended time to allow the flavours to meld.
The alcohol distillation process answer
As a new distiller, by understanding these alcohol distillation process steps carefully, you can produce high-quality, flavourful spirits right in the comfort of your home. Remember, the key to successful distillation lies in attention to detail and a passion for the craft. Enjoy the process and savor the results of your hard work!

