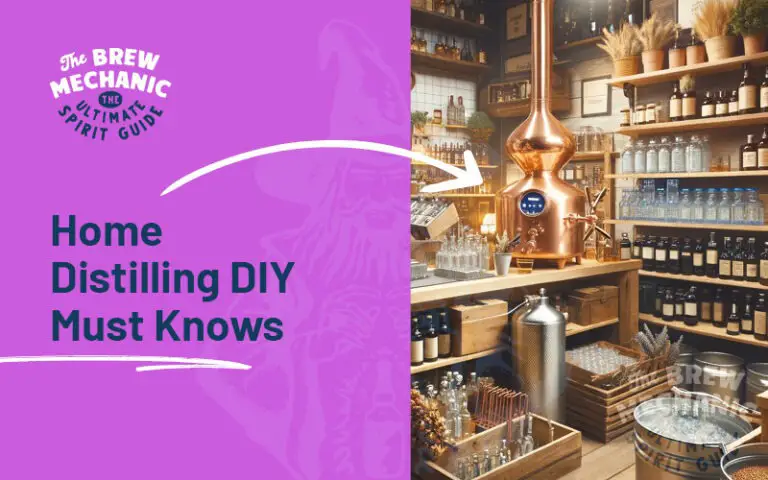
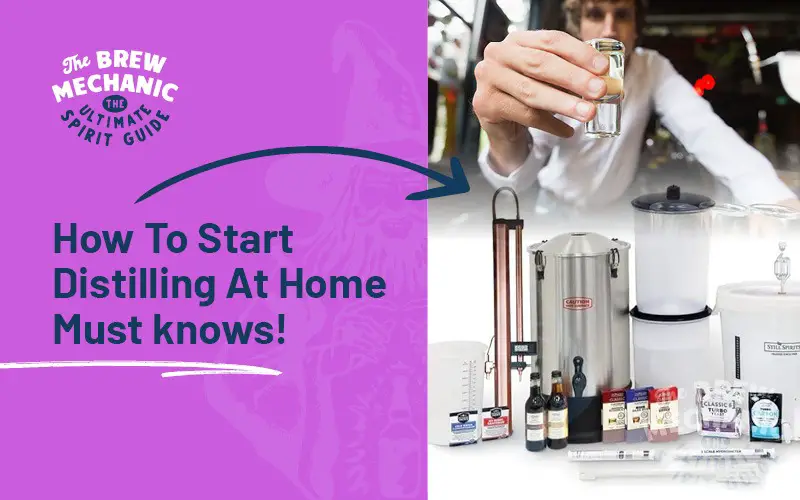
How To Start Distilling At Home
Disclaimer: This post might include affiliate links, through which I may earn a small commission without any extra cost to you. Additionally, I am an Amazon Associate and earn from eligible purchases. All the products and services I suggest are ones I have personally used or would use. Thank you very much for your support if you decide to buy through any of my links!
Come join the Distilling Squad!
Get the best fundamental tips & tricks here. Woohoo!
If you’re considering how to start distilling at home, it’s important to grasp the legal, chemical, and practical aspects involved. This a simple step by step guide at selecting equipment, understanding fermentation, and mastering distillation techniques. Read on for a detailed exploration into the world of home distilling.
Introduction of How To Start Distilling At Home
Step 1: First Time Brewers to distill alcohol at home – decide between wash or mash
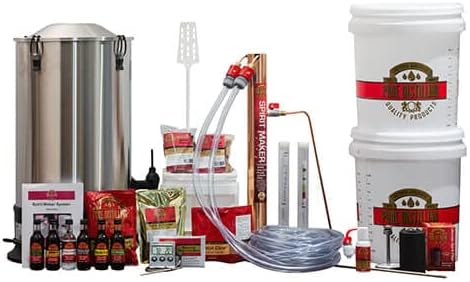
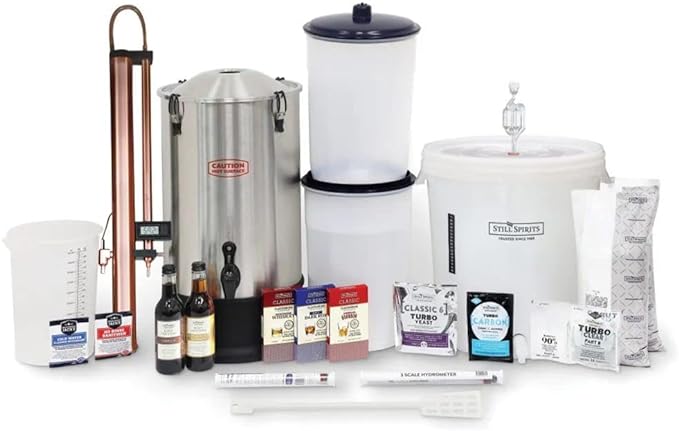
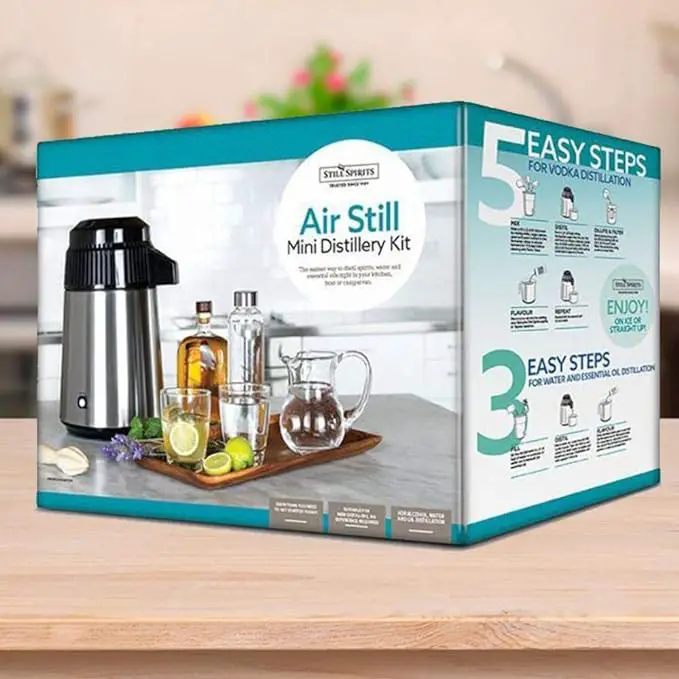
For a newbie, the way to go is to purchase a complete unit for making alcohol once you have decided what type of alcohol you want to make. This type of still comes fully manufactured with all the components all you have to do is assemble it.
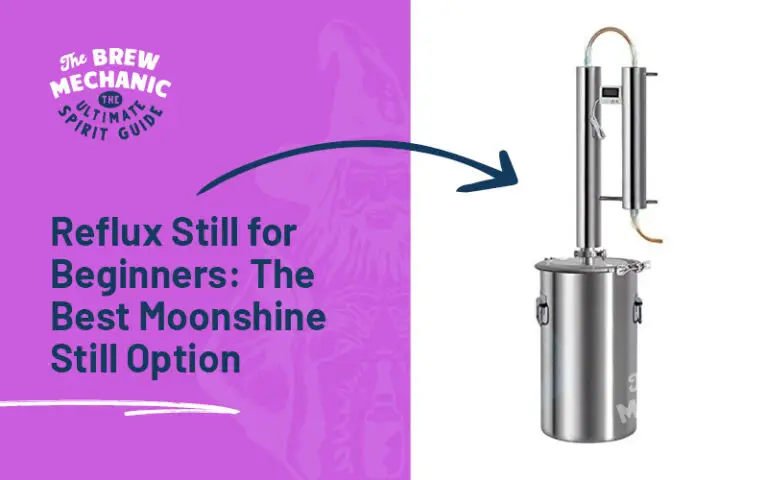
Sugar wash = Reflux Still
We also suggest that a newbie starts with a simple sugar wash and first learns all the (plenty) basics. Methanol can’t be made from a sugar wash. One less thing to worry about. This means you will need to have
Methanol (BP 65°C / 149°F ) Ethanol (BP 78.2°C /172.76°F ) forms during fermentation by hydrolysis. Pectin is found in corn, fruit, grain, and rye broken down in the mash and form methanol.
Mash = Pot Still
Making of the mash I feel is for the more advanced brewer, due to the rules involved.
Budding distillers should initially master techniques like sugar wash and reflux distillation, prior to exploring Pot Still methods. This realm introduces numerous guidelines related to cuts and mash preparation.
Pot still ethanol is derived from various fruits or grains. The most readily available local produce usually becomes the primary component. Yet, contemporary whisky often comprises Malted Barley (grain), water, and yeast as its fundamental ingredients.
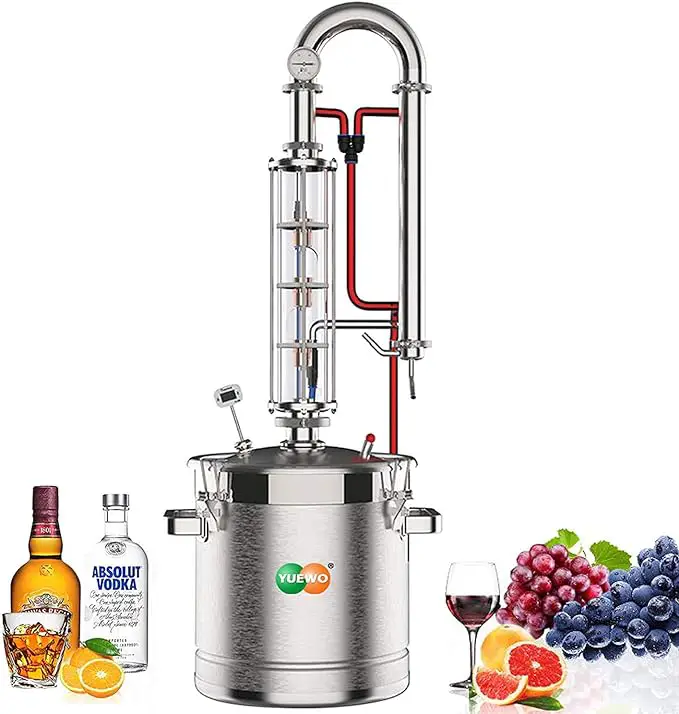
Step 2: How To Choose The Right Alcohol Still For You (Copper/Stainless Steel)
The still you want will be based on what you want as the final product. There are basically three options
1. Reflux Column still
2. Pot still
3. Combination reflux and Pot still. Switch a few pipes and you get the best of both worlds.
1. Reflux Still = Sugar wash
Reflux stills are designed to create higher proof ABV alcohol 90 > 95% with little or no flavour. The neutral spirits from this distillation are used or gin, vodka and many types of cocktails.
#1 – General Distilling Equipment Needed Getting Started “Reflux Still”
- The boiler can be a 50 / 25lt. converted beer keg/kettle
- Heating Element to suit your Kettle and still. This can be from gas heating to electrical heating. Gas is more difficult to control and more dangerous.
- Reflux Column your choice of Stainless / Copper. I prefer stainless easier to clean.
- LED digital Temperature indicator measuring vapor exit of the column. Brew Shop
- Cooling water submersible pump for the condenser sized to your still.
- One small cheap water garden valve exits of condenser back to the cooler box.
- Cooling water submersible supply pump for the top section of the still.
- One small needle valve on cooling water outlet from Reflux Still column to waste / garden.
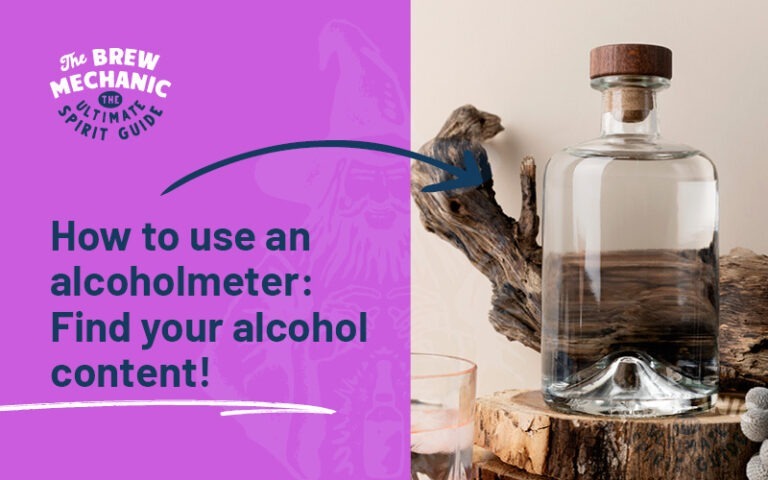
- Parrot, and alcohol hydrometer from the condenser to measure the ABV continuously.
- Bottles for splits. For first-time users, I would suggest say 10 bottles for the foreshots, heads, tails, and hearts have its dedicated bottle. Must be able to measure in ml the amounts splits.
- Thermometers to check temp of hot water exit reflux side of the still.
2. Pot Still = Mash
Spirits distilled in a pot still vary from 50 to 80% proof after multiple distillations. The product here has the flavour that the brewer puts into the mash fermentation.
#2 General Equipment Needed To Get Started With A Pot Still
A pot is much simpler in design than a reflux still. These stills are made from copper or stainless steel.
- Kettle The heater can be either gas or electric elements
- Short neck from the kettle to the condenser (no internals)
- Condenser. Sized to the kettle and the amount of alcohol you are brewing
- Proofing parrot
- As with the reflux still a lot of the basic components outside of the still are common.
Step 3: Understanding the fermentation of sugar wash
Fermentation is broken into two types
- Turbo yeast range where yeast, nutrients etc. come in one package. All you must do is add water as per instructions.
- You select the yeast, nutrients etc. This is more difficult as various variables come into play.
- The choice is yours which route you want to follow and don’t forget the cost factor of the turbo. One big problem (turbo) is should you pick up a fermentation or distilling problem where do you start? The other problem is that you can’t vary nutrients etc. as the turbo comes pre-packed.
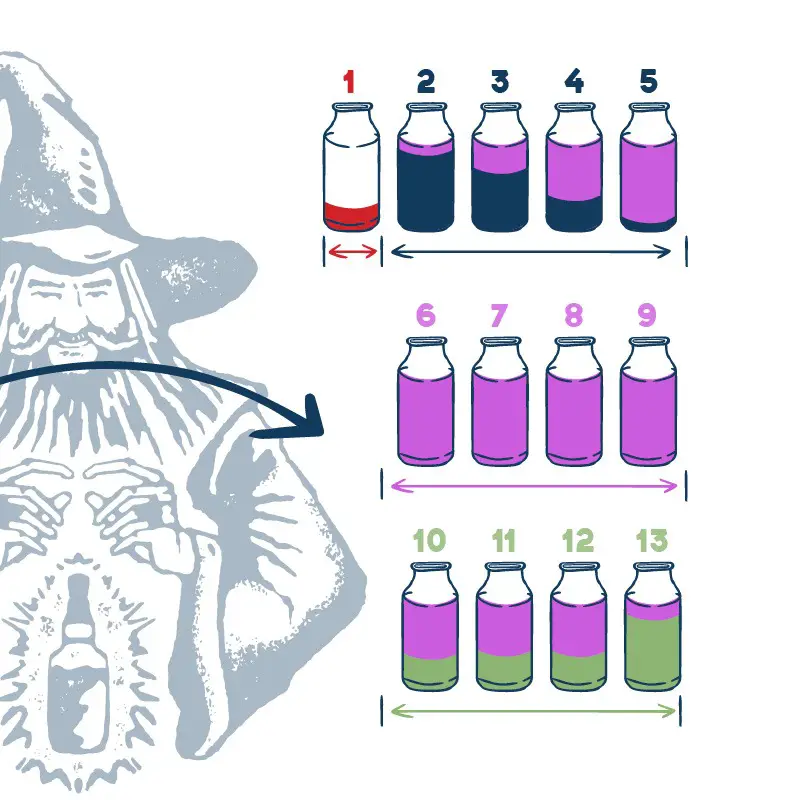
Step 4: Learn the distillation process for distilling cuts
As you are learning how to start distilling at home, the one of the most important areas is understanding and knowing the boiling points for the distilling cuts. We break it down below.
The Four Stages Of Your Ethanol Run to understand
The Boiling Points And Ranges Of Alcohol
You must know and fully understand the temperature and stripping ranges of your still as well as the volatiles and its boiling points.
| Acetone – Foreshots | 56.6°C or 133.8°F |
| Methanol – Foreshots | 64°C or 147.2°F |
| Ethyl Acetate – Heads | 77.1°C or 170.8°F |
| Ethanol Range – Hearts | 78.3 > 81.5°C or 172.9 > 178.7°F |
| 2 Proponal – Tails | 82°C or 179.6°F |
| 1 Proponal – Tails | 97°C or 206.6°F |
| Fuesel oils – Tails | 94 > 95°C or 201.2 > 203°F |
Download our Distilling Cuts Chart here
Yes I want this epic PDF plus get tips and tricks! You will be joining our distilling mail list. 🙂
Step 5: Why Is Distilling A Rewarding Hobby
As you wrap your head around how to start distilling at home, you realise how much fun, joy and knowledge you will gain with this awesome hobby. If you
Last Updated on Dec 14, 2023 by The Brew Mechanic
Disclosure: I may receive affiliate compensation for some of the links below at no cost to you if you decide to purchase a product or service. You can read our affiliate disclosure in our privacy policy. The information provided is for entertainment only.

With 35 years of knowledge of being a chemical engineer in alcohol manufacturing plants, my mission is to teach the next generation of home distilling alcohol brewers at a supernatural speed.
My reviews are based on real-life experiences with reflux stills, sugar wash, troubleshooting and mystical chemical reactions.